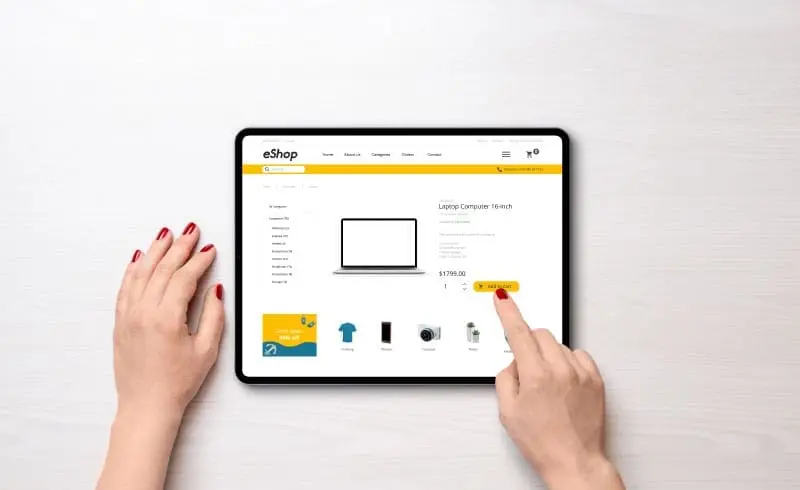
Selling online used to be a breeze. Get the order, collect the money, ship out the product. No hassles with sales tax like a brick-and-mortar retailer have to deal with. Nowadays, unfortunately, it’s up to 46 times more complicated for an eCommerce business. That’s because 45 U.S. states plus Washington, D.C., now require you to collect and submit sales tax — each with its own set of laws that you need to follow.
The process can be daunting — and time-consuming — for a small business. Here’s how to make it more manageable.
1. Determine which states you need to collect tax in.
As of June 21, 2018, that’s any state where you have customers. Before that date, each state had a set of criteria known as “sales tax nexus,” which determined whether you would have to collect tax in that state. The criteria included such things as the physical location within the state, distributor, or sales rep location and total sales value.
However, the old rules are now out the window. With the Supreme Court’s decision in favor of South Dakota (in the case of South Dakota v. Wayfair), physical presence in the state is no longer required.
Many questions on how this will play out remain unanswered. For example, the decision includes language that the state tax system should not discriminate against or place an “undue burden” on out-of-state businesses. It may take states a year or even longer work out their new rules.
In the meantime, learn more about sales tax nexus here.
2. Determine which products qualify as taxable.
Again, rules vary by state. Some of the most common non-taxable items are:
• Grocery food
• Clothing
• Certain types of books (textbooks, religious books)
• Prescription and non-prescription medicine
• Magazines and subscriptions
• Digital products (books, music, movies)
3. Register for state sales tax permits.
In each state where you’ve determined you need to collect sales tax, apply to the state’s department of revenue for a sales tax number. You need this number in order to legally collect tax from customers.
Make a note of each state’s tax due dates. You may have to file monthly, quarterly, or annually. This information will be included with the tax permit the state sends you.
In most states, your sales tax permit is also a resale certificate. That means you can buy items tax-free at retail, as long as you intend to resell the items.
4. Update your website’s shopping cart to collect sales tax.
For sales within the state where you’re physically located, check whether your state uses origin-based or destination-based taxation.
• Origin-based: You charge the state, county, and city rates that apply to the location you’re shipping from.
• Destination-based: You charge the rates that apply to the shipping address.
In some states, shipping charges are also taxable. Most shopping carts allow you to add this function.
If you use drop shipping, you’ll have to work with your dropshipping supplier to decide who will be responsible for collecting sales tax.
5. File your return.
File a return for every state and every due date, even if you had zero sales in that state or time period. If you don’t file, you could be slapped with a penalty, or even lose your tax permit.
Be prepared to fill in the tax return form by county, city, and other special taxing districts. This is where automated software can make your life a lot easier.
Save money by filing on time or early. Some states give a discount for filing on time. And some need a few days to process payments. So even if you file on the due date, the money won’t reach the state’s bank on that day and you will be charged a late fee (plus interest on the amount of tax due).
xendoo makes processing sales tax easy for eCommerce businesses. By integrating with both your business software and your bank, transactions are entered automatically in your books. Plus, each entry is tax coded as it happens, so there’s no last-minute rush at filing time. With the hassles out of your way, your time and energy are free to focus on growing your business.
[av_sidebar widget_area=’Blog Post Disclaimer’ av_uid=’av-om2w’]


